Showing posts with label baking. Show all posts

Friday, July 16, 2010

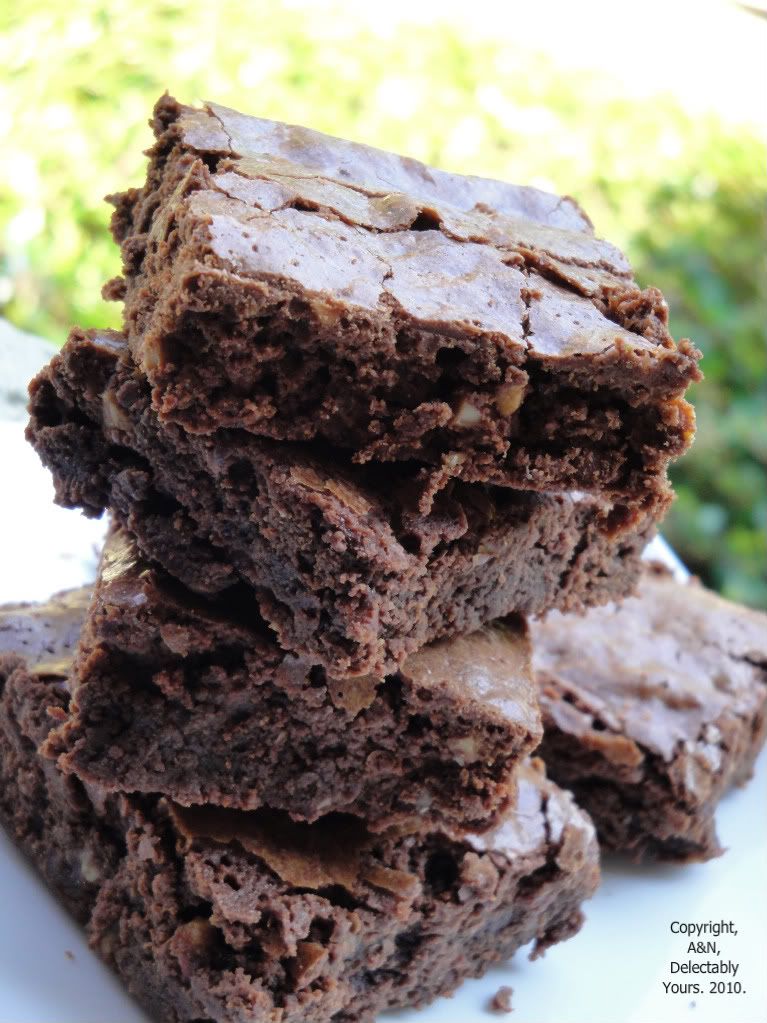
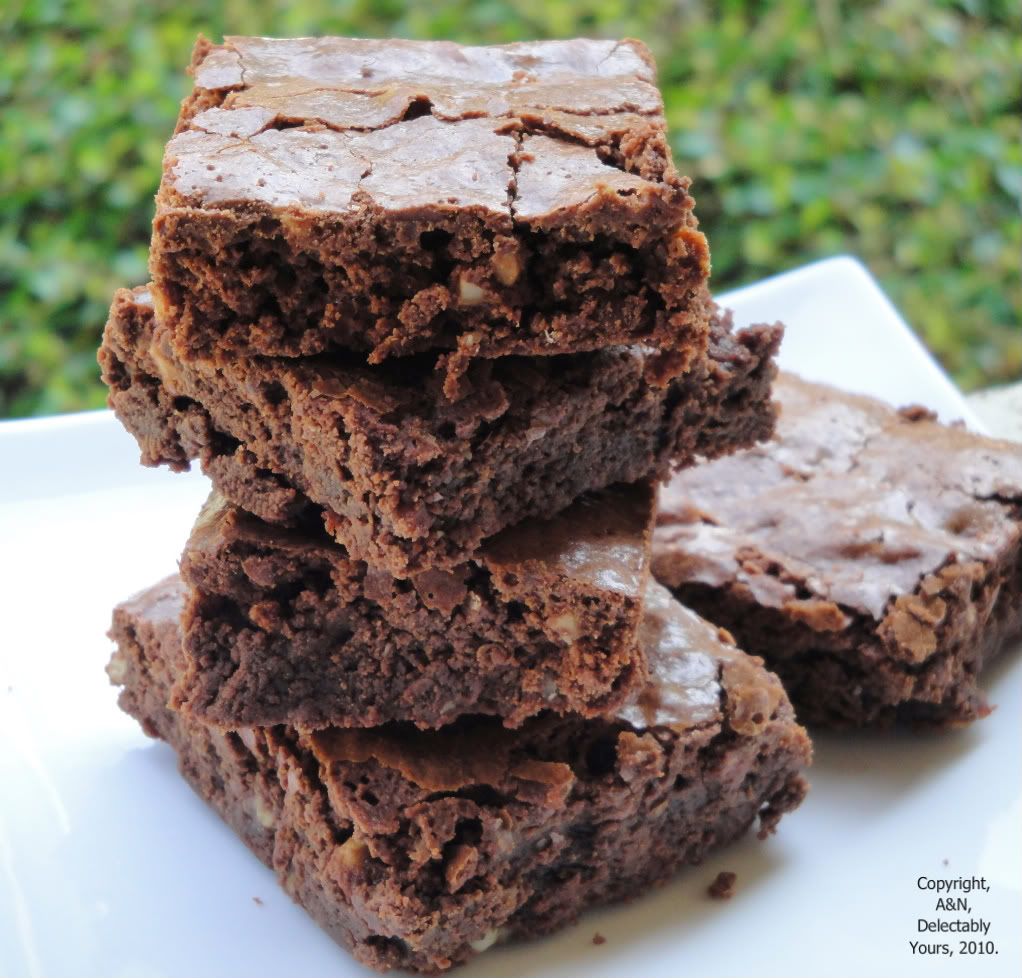
Chocolate Almond Brownies.

In the previous post, I alluded to the soccer world cup that concluded recently. I had the opportunity to watch the finals with a good friend of mine. His family has a sweet tooth and I am always looking for guinea pigs to try my experiments on ;) I baked these brownies the night before and let them sit so that they got sweeter with time. The recipe was inspired by Dorie Greenspan. I took her basic brownie recipe and tweaked it a bit.

These served as dessert after a nice home cooked meal at my friend's place. I'm glad they liked the brownies and to top everything, the finals was one heck of a game. It started off a bit slow but picked up pace after the first half. If it weren't for a red card, the game would've ended with penalty kicks. But again, Spain played better than the Dutchmen and certainly deserved to win the world cup. To cut a long story short, good food+good friends+good game=Great time!


Photobucket


Ingredients:

2/3 c flour
3 large eggs
7 tbsp butter
6-7 oz semi-sweet chocolate chips
2/3 c almonds (toasted and coarsely chopped)
1 tbsp coffee extract
1 tbsp freshly brewed coffee decoction
1 tsp vanilla extract
1 c granulated sugar
1 pinch salt

1. Preheat oven to 325F.

2. Melt the chocolate and the butter in a bowl. I used a microwave. When the mixture is hot, add sugar and stir to dissolve. This will also help the mixture to cool down. Allow it to cool until warm. If you can stick your finger for 10 seconds without discomfort, the mixture is cold enough ;)

3. Add the extracts and decoction to the bowl and stir to dissolve.

4. In a large bowl, beat the eggs, one at a time with an electric beater. Do not overbeat since we're not baking a cake here. We want dense, moist, fudgy brownies ;)

5. Pour the melted chocolate mixture into the egg, stirring continuously with a whisk.

6. Add the flour and fold in the chopped nuts. Do not overmix.

7. Pour the batter into a rectangular pan, lined with aluminum foil. I leave a long strip on one of the corners that lets me pull the whole thing after it has baked easily. Pour the batter into the pan. I used an 8" X 10" pan that was 2 inches deep.

8. Bake in the middle rack for about 50-55 mins. or until a skewer comes out clean.

9. Place the pan on a cooling rack and allow the brownies to cool completely in the pan. Then, pry the aluminum foil out of the pan and cut into squares.


Photobucket


These brownies had a nice crunchy crust on top and were pretty chewy and fudgy on the inside. The coffee was a nice addition. the almonds imparted additional richness (as if chocolate wasn't enough :P).

Tuesday, December 1, 2009

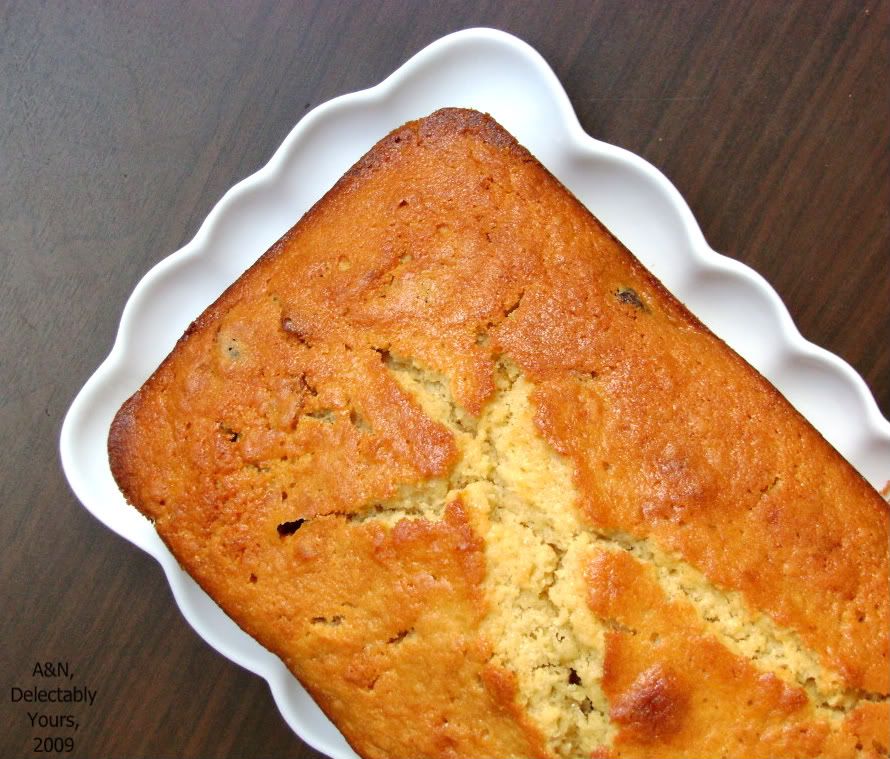
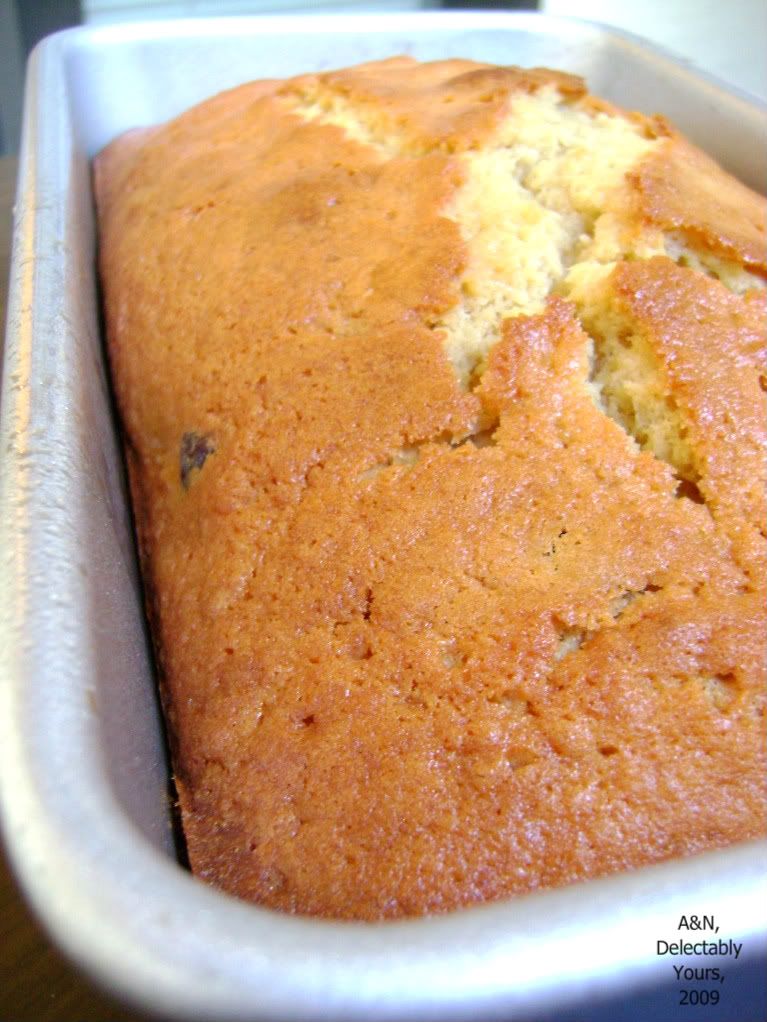
Orange Cranberry Loaf

As a kid, I never really had the opportunity to eat oranges because my father hated them. My initial hate affair with oranges began when I was subjected to bioterrorism by my cousin. She used to take the orange segments and squeeze it in front of my eyes, such that it unleashed a spray that wreaked havoc in my eyes. But like so many things that we used to hate as children and ended up loving them once we grew up, I eventually came to love oranges.

As far as baking with oranges goes, the flavor really lies in the peel/zest rather than the juice. That's because of certain oils and alcohols with intense aroma and certain glucosides that contribute to its bitterness. The idea behind this loaf/cake is to get a very intense orange flavor and complement it with something that goes well with it.

Photobucket

Cranberries and oranges are a popular combination. They're often used in breads, muffins, scones...even cookies! But I chose them because they are commonly used during thanksgiving and I was planning to take this to a friend's place during the Thanksgiving weekend.

Photobucket

Here's the recipe:

2 cups all-purpose flour
1 stick (8 tbsp/4 oz) butter, at room temperature
1 tsp baking powder
1/4 tsp baking soda
2 eggs
juice and peel from two oranges
2/3 cup sugar*
1 tsp vanilla extract
1/4 tsp salt
1 cup water
1/2 cup dried cranberries (Craisins)

* the amount of sugar really depends on how sweet the juice from the orange is. Please adjust accordingly.

1) Keep the juice from the oranges separately. With a knife, remove the pith from the peel as much as you can. Using a peeler to peel the oranges works great for us.

2) Simmer the peels into a saucepan with 1 c water and the sugar. Make sure that the peels are fully submerged in water. Simmer until the liquid reduces and the peels become really soft, about 10 mins or so. Remove from the stove.

3) Strain the liquid 'syrup' and let it cool. Once the peels have cooled down, chop them into tiny bits. Add the orange juice to the syrup once it has cooled down. The total liquid should come to 1-1 1/4 cups. Which is why I recommend adding the orange juice into the mixture after the syrup is done. You could always drink the excess juice. The syrup....not so good for you ;)
4) Preheat the oven to 350 F.

5) Sift the dry ingredients (flour, baking powder, baking soda, salt) into a bowl. Add the cranberries and toss them just a little.

6) In a larger bowl, cream the butter with an electric beater for 3-4 mins. Add 1 egg at a time and beat for a good 2-3 mins. The mixture may look and be curdled. That is fine!

7) Add the dry and wet components alternately, beginning and ending with dry ingredients. after each addition, fold gently with a spatula until you stop seeing 'dry' lumps of flour.

8) Pour the batter immediately into a 9X5 greased loaf pan

9) Bake in the middle rack for ~35 mins. or until a skewer inserted comes out clean. Do not open the oven door until you see the top start to crack. In case your oven doesn't have a light, you can forget about it for at least 25 mins.

Photobucket

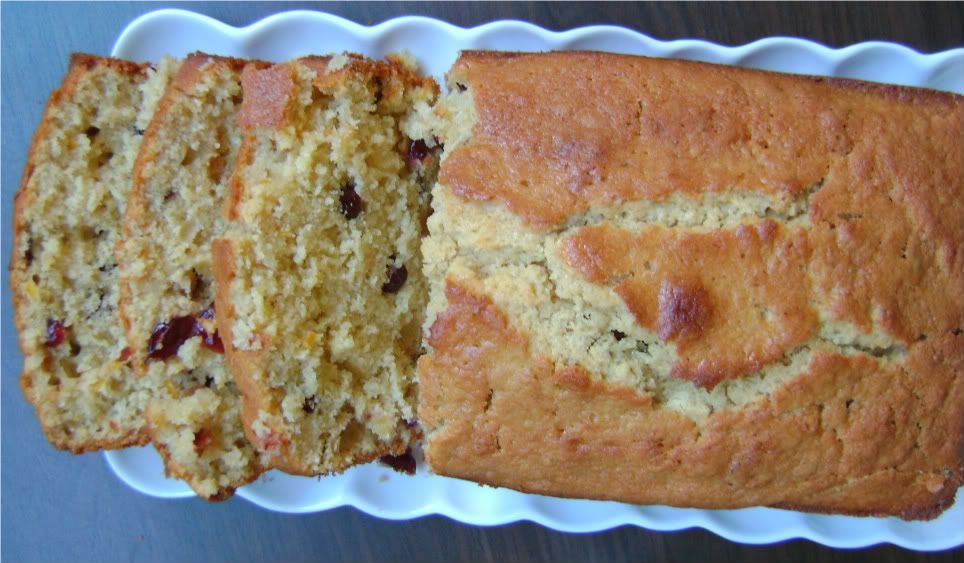
We personally loved this cake. It certainly had the intense orange flavor that N was looking for
and small bites of orange peel that I was looking for. The cranberries proved to be a good addition too. They were well distributed throughout the loaf so apparently the 'coating with the flour' trick worked in this case. You could further 'enrich' the cake with some orange-sugar icing or even serve it with some whipped cream or orange scented whipped cream.
Thanksgiving...its supposed to be about sharing; another thing I used to hate as a kind but have grown fond of now ;)
P.S. - Something's wrong with Blogger and its taken us hours to post this recipe and format it! Any clue what?

Saturday, November 21, 2009

Thai Crackers

It is a ritual for me and calms the restless me. I think when I drink chai, I make lists (I'm list obsessed. I make lists of lists), plan dinner, plan weekend baking and literally plan my life everyday for a good 15-30 minutes. It is also my last moment of peace before A returns home to potter around the kitchen, ask 101 geeky questions about what is being cooked, snicker at my lists and most importantly, when the TV is switched on for sports.

Chai is special for me not just because of all my obsessive-compulsive traits/husband, but more so for a ritual I followed for two short years at my hostel. Every evening at 5, most of us from the Ladies' Hostel would walk together to the mess -rain or shine. That was my 'adda,' literally. I'd sit there and talk, we'd discuss world issues, men, cute professors, issues plaguing the student community etc etc. The innumerable conversations, the 'pointing out at men who come out from the men's hostel and laughing at them,' making bills for the mess as a member, planning the student strike, chatting with the gang, laughing. All with endless cups of sweet, really sweet, over-elaichied chai. None of us really liked the chai, but it was a habit we all loved. In fact, even now, a close friend of mine from college, D and I chat everyday (almost!) during our chai time and make lists together. If we can't meet online during chai, we make the lists throughout the day. She is worse than me.

Anyway, as hostel students, with friends, just sparkling conversation was enough to enjoy chai. And there wasn't enough money to buy biscuits/cookies, crackers for everyday chai. However, now, I desperately crave for something to go with my chai. Cookie, a piece of cake, crackers - they add so much to chai. And to my reputation :D We have a patio in this new house and we put some chairs there. Since we don't have any friends (with A around, its no surprise, anyway!) I sit out like a Page 3 socialite sipping chai and holding a book or a pen and a book (so I look hep like a writer :P) and watching people ( no one to watch, really), some young girls who come out to play and are terrified of me (I foolishly offered them some cake!) and just spend time making umpteen lists. So!

One of my all time favorite blogs is Aparna's My Diverse Kitchen. Someone on Twitter called her 'grounded.' I thought, then, how apt this term was for Aparna and her efficient blog. I've always admired bloggers from India who try out different cuisines or use substitutions and make the dish as good as the original. And Aparna is one of them. I share one quality with her, that of drinking chai every evening. I was looking at her blog to see what she eats along with her Chai. (I'm very good at such time pass sleuthing and guessing things about people)

And I found these crackers. I decided to make them last week with a twist. We went to Georgia State Univ with a friend for a movie (When in Rome - releasing only in January. Don't waste money on it. Its a great watch if it comes free) one weekday. A gets cranky without food. So, I knew I had to carry something for him. He came in from work and couldn't keep his hands off these crackers!


Photobucket

The twist in this story is that instead of Kasuri Methi and vegetable oil, I added Kaffir Lime leaves and chilli oil to make these crackers Thai. A and I love, love Thai food and the only way to make A sit through this movie (Romantic Comedy) was to make something Thai-ey. So, I made these crackers. A enjoyed them thoroughly and my friend who came along loved them too! I did find the Kaffir Lime and the chilli oil flavours a bit overwhelming, but quite liked it. Do try it and you will keep making it. Again and Again.

Photobucket

I'm having chai again now. With these crackers that I made again. Love 'em, Aparna. Thanks!
UPDATE: I just found out through my Reader that Aparna's blog turns two! Congrats, Aparna.

Thursday, August 20, 2009

Poor Man's Brioche - BBA!

Forging (not!) ahead on the BBA, we present to you a cousin of the beautiful Brioche. Imagine our surprise at the class system in bread making. This brioche we made is called the Poor Man's Brioche and lacks the bright, rich yellow color of a Rich Man's brioche. Guess why. There is less butter and less eggs.
A and I decided to be poor in terms of butter than be too rich for our waists and tried the Poor Man's Brioche from Peter Reinhart's Bread Baking Apprentice. We're lagging behind big time on this challenge and don't mind it as much. With my tooth ache, apartment hunting, trip planning (more details later!) and other issues, we've hardly found time to cook or bake anything luxurious. Dinners end with salads or couscous or bulgur. Of course, thanks to my tooth ache, salads are out and am feasting on rice since that is the only thing I can eat without using my teeth to bite. You know?

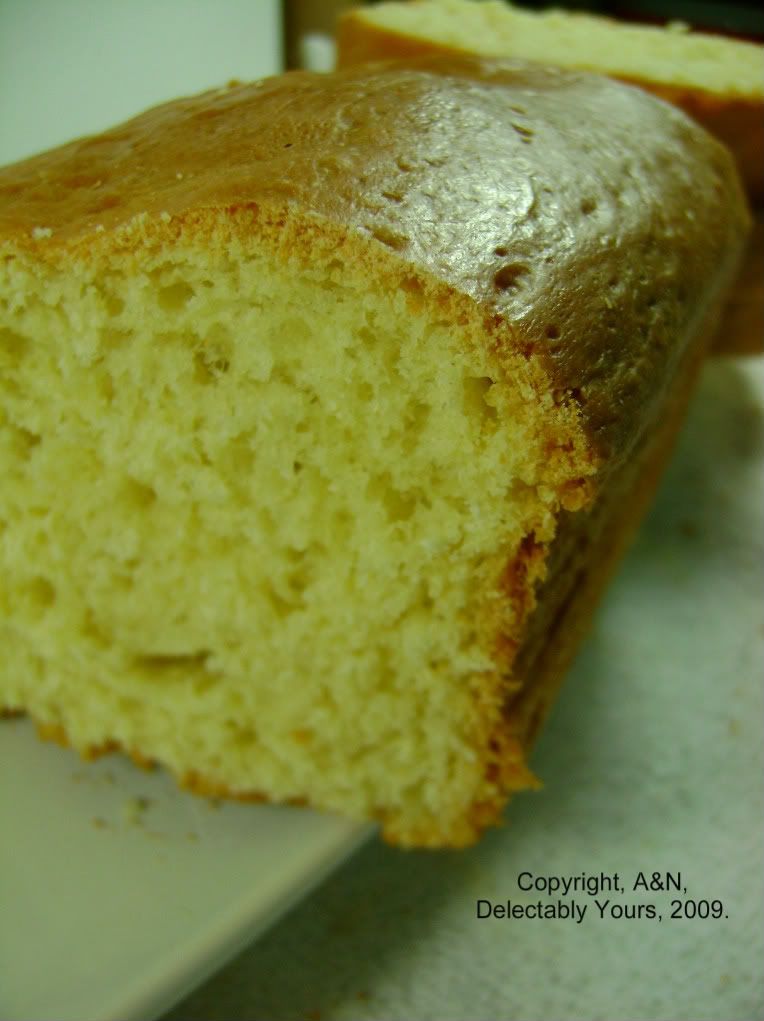
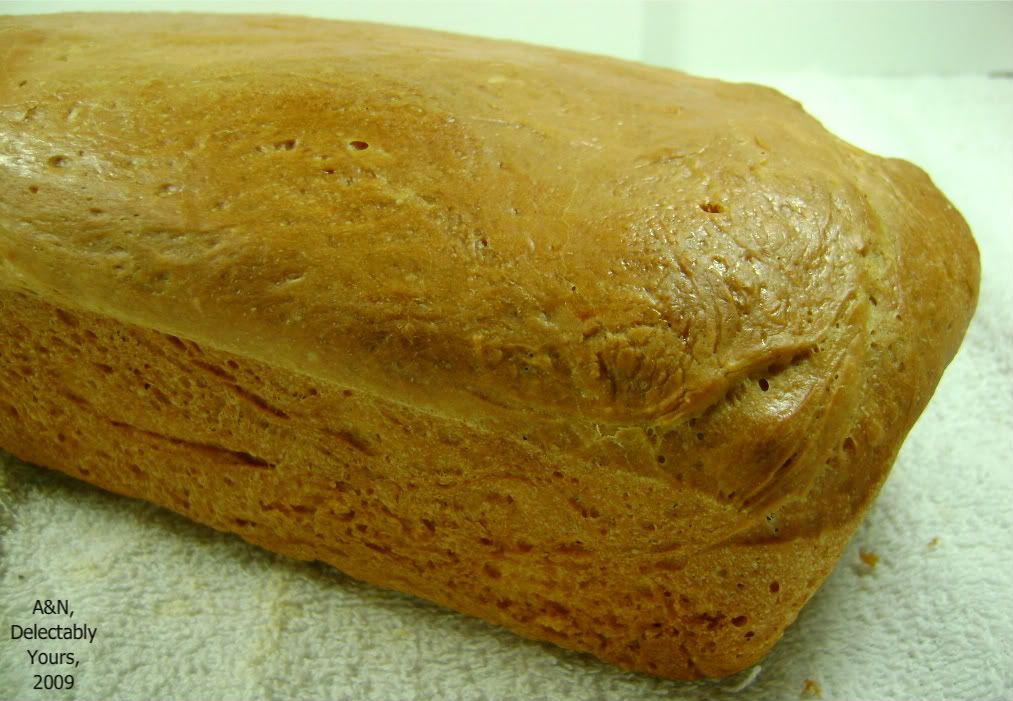
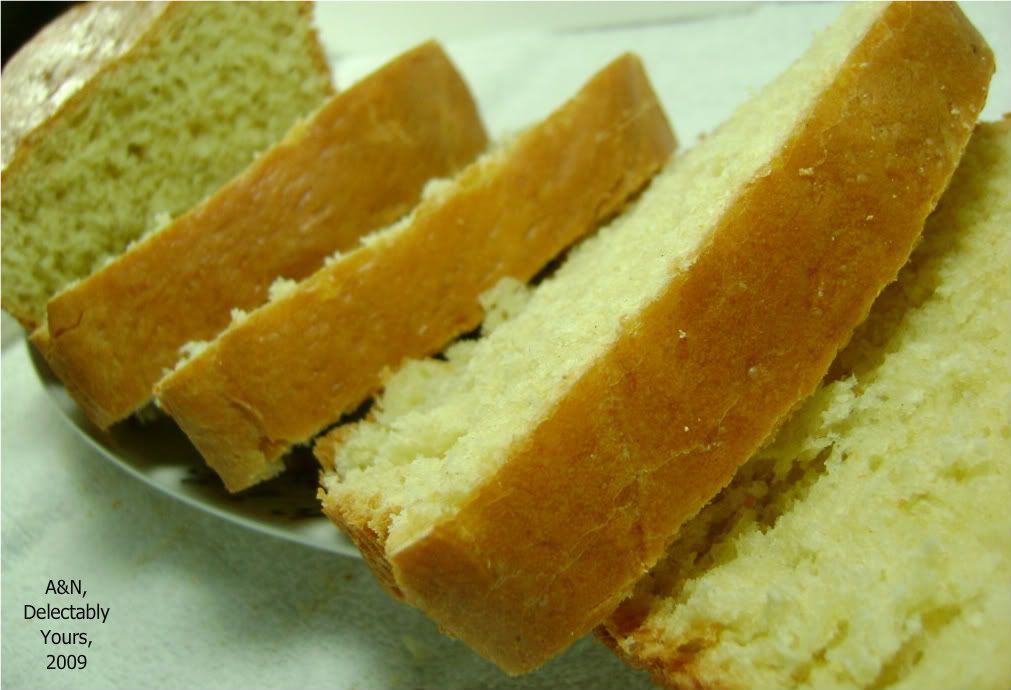
Anyway, this brioche was outstanding! For being a poor man's brioche, it was quite rich and we could taste the butter in this bread. We'd love to try out the Rich Man's Brioche sometime in the future, but I guess that's not anytime now! We ate up this bread just like this - did not make French Toast as planned or even a sandwich. It just disappeared in the night and I had it with some soup the next day for lunch.

Photobucket


The one thing about Peter Reinhart's recipes are that it works to a T. It works just like he says it does. We have several cookbooks including some from popular authors and there are anomalies here and there. Sometimes, we find stuff too buttery, too bland or too spicy. But with Peter Reinhart, I could do this blindly and reach where he wants us to. His instructions are simple, brilliant, the ingredients very simple and easily substituted with common everyday stuff in some cases. So, if you're looking to buy a good bread book, go no farther. Pick this one up!

Photobucket

Coming back to the brioche, the crust was brilliantly golden and it glistened. We didn't bake it in Brioche pans since we didn't have any, so ended up baking it in a regular loaf pan. Next time, it will be in that cute little Brioche tin! While the photos themselves may not show the luxuriousness of this bread, the shining crust and the brownness is for real. A was in raptures seeing this bread and claims that so far, this is his fave bread in the book. Me? We'll see. We have a lot more bread to go through and I love herbed, spiced breads more than anything else. So, wait and watch! :)

Photobucket

Go check what the other challengers are doing with their bread in the Flickr slide at Nicole's. Some of them've gone far ahead, and lent us valuable lessons from the mistakes and the learning they've garnered from this book. Thanks to all of them for that. Check Nicole's blog to see if you can join! :)

Wednesday, July 29, 2009

Peter Reinhart's Bagels - Go BBA!

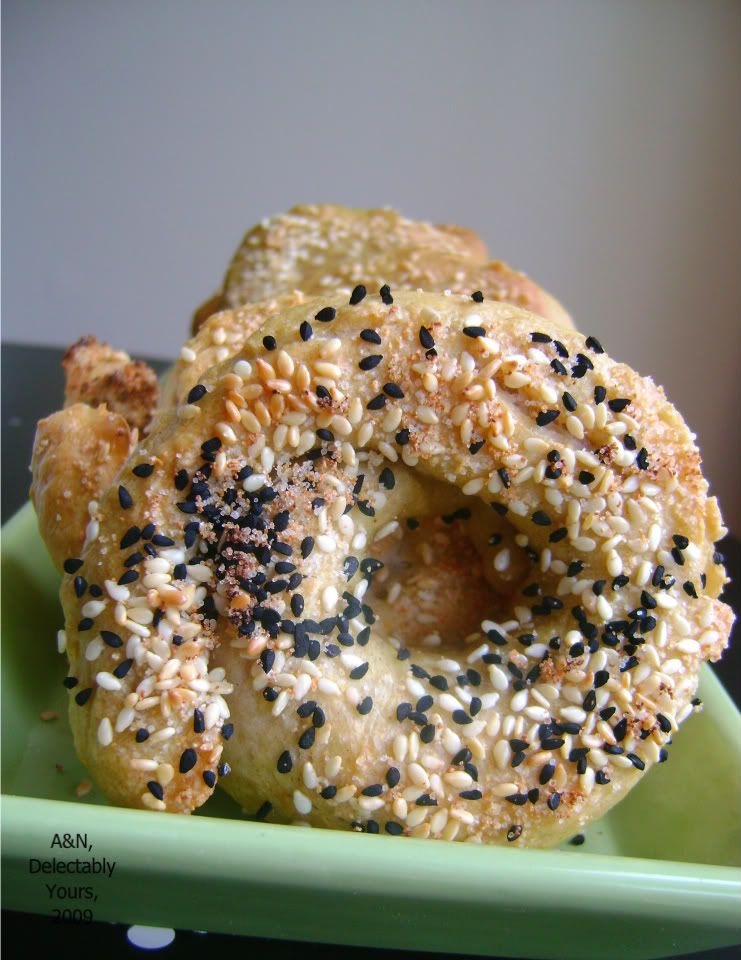
When we bake bread and start posting it, it means we are back. Remember, we are on the challenge? Anyway, this is our third bread in the book. Here is the recipe. And this turned out to be bagels. I love bagels. There is no disguising it. Give me a warm bagel slathered with cream cheese, and you've got me there. I still remember the first time I ate a bagel. I hated it. I came to Mountain View, CA on work and my friends and I planned a road trip to Monterey Bay, CA. We wanted to leave early, so we picked up breakfast at a bagel shop near our apartments. The guy packed us 2 bagels each - new to the US, none of us realized the enormity of the portions in this country! We struggled to finish a bagel with all that cream cheese. And there were so many more left! I hated the cheesiness of it all. No, I didn't appreciate or like cheese at all then.

Photobucket

2 years later, I got married and came here to Atlanta and I still refused to eat bagels. Not like A appreciates bagels that much, anyway. And A does not like eating out. A pain, yes. So, since I didn't even know how to cook dal, baking a bagel was out of question. A is the kind who loves to cook and cooks rather well at that. So, anything you want to eat, and you mention it to him, he will cook that for you. So, after a tiring road trip to Florida, in a bid to eat out, I mentioned I wanted Thai food. It was 10 PM. He just looked at me and said, 'sure.' I slumped back and slept while he drove home. I reached and went on to take a shower and dress up. I came down 10 mins later to see the table all set and A cooking Thai food :) I know it seems nice and all that, but this is what happens every time we want to eat out. Nowadays, I just dress up and say, let's go, and decide on the cuisine on the way! Look at him eat a home made bagel while I was slogging at the pics!

Photobucket

Anyway, I digressed as usual. We went on this Thanksgiving trip to NC last year. We decided to make it a cozy romantic road trip travelling through the Blue Ridge Parkway only through the bylanes. And I'd convinced him that we should eat out. No cooking at home when we come back, no packing food ( though we've never done that!) Much to my agony, not ONE single cafe or restaurant was open through the way thanks to the holidays. And the ones that opened didn't have one Vegetarian option. I was boiling mad. A was grinning away to glory. I cannot live without breakfast. Or lunch or dinner, for that matter. Finally, we reached this town where there was one coffee shop open. I had 2 smoothies and 3 bagels after one full day of not eating anything. And trust me, I haven't loved anything more than bagels. I came back home and ever since, every weekend, when we hit the Farmer's Market, I eat a warm bagel making up for all the years I've lost in not eating any bagels!

Photobucket

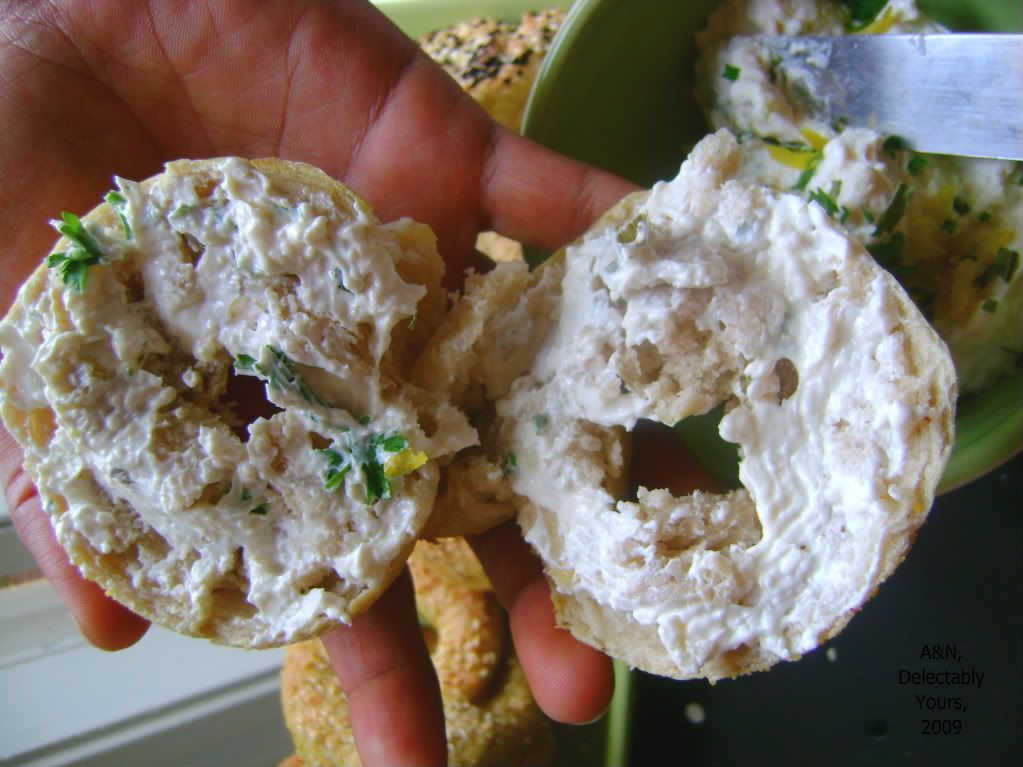
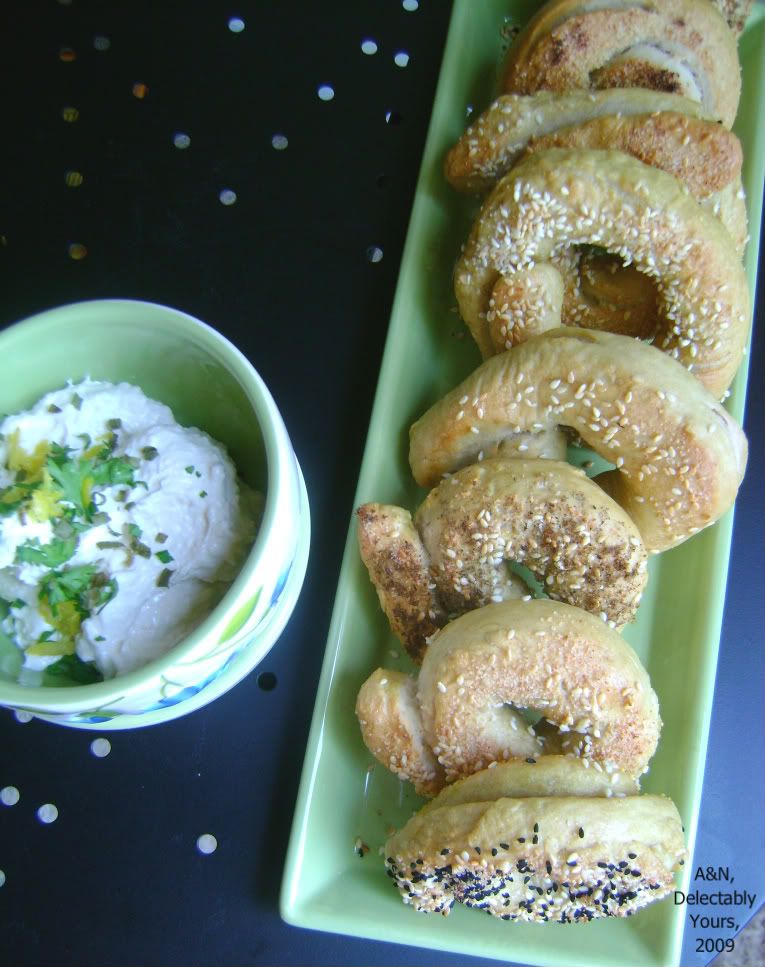
So, when we saw Peter Reinhart's bagels, we were obviously excited. We made them last weekend for breakfast with some cream cheese spread!

Photobucket

Needless to say, I loved it. However, I felt the bagels I've eaten at the Farmer's Market are better than these. Also, I loved Peter Reinhart's Anadama Bread and Christopsomos way more than these bagels. But a bagel is a bagel and was given appropriate respect :D We made only 6 bagels. It was impossible to scale the recipe further down. Sometimes, I wish I had kids just so I could bake and bake and bake and let them eat and I could just take a bite. Sigh. I only hope my mom or in laws or a variety of aunts don't read this blog. Or, they will use this as my alter ego and pester me to have a baby!

Sunday, May 24, 2009

The Greek Celebration Bread - Christopsomos

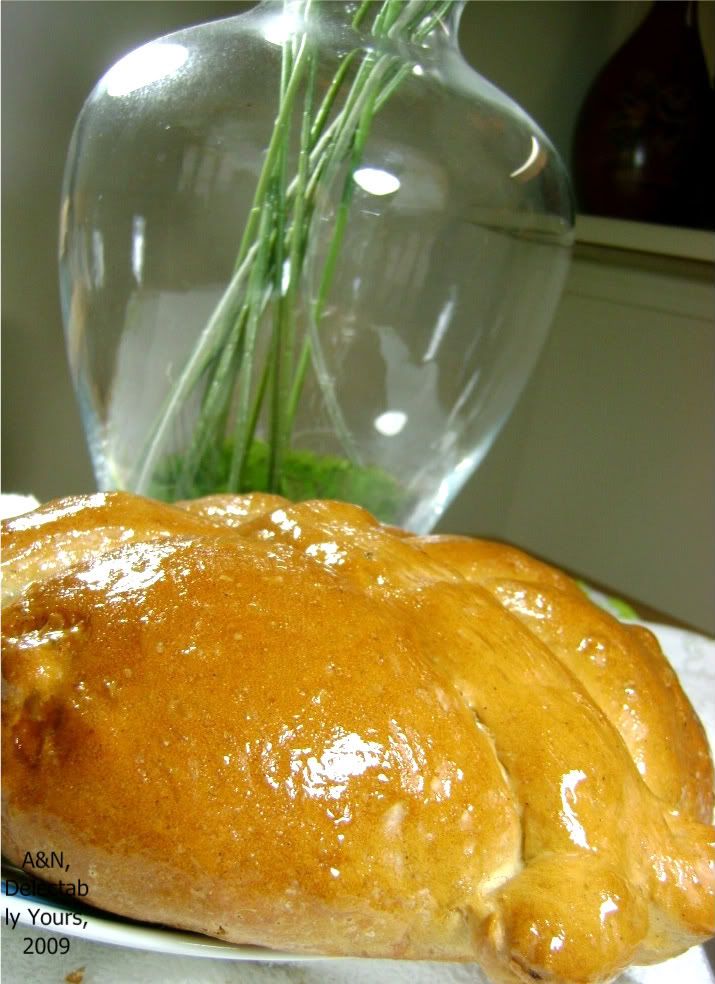
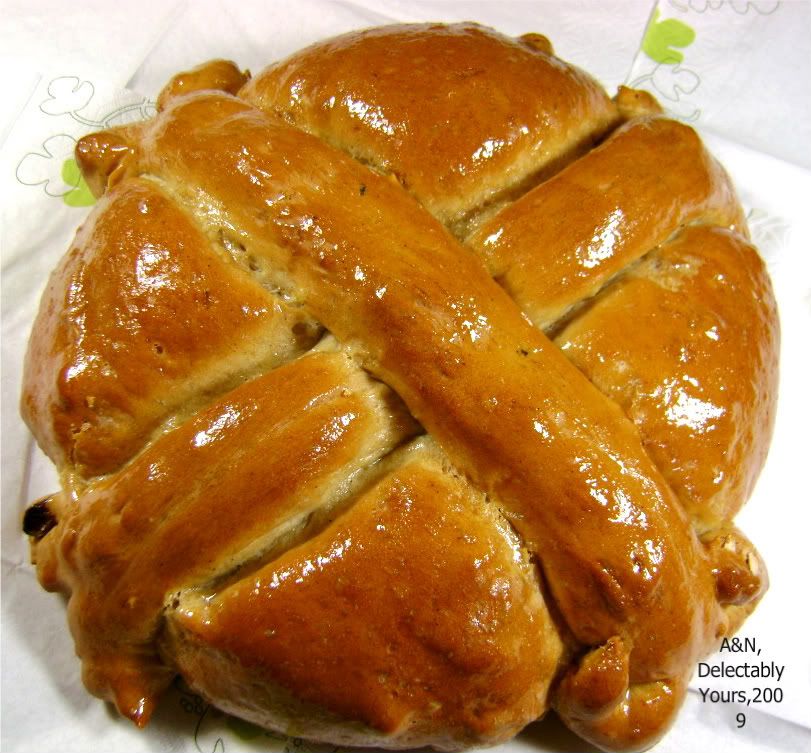
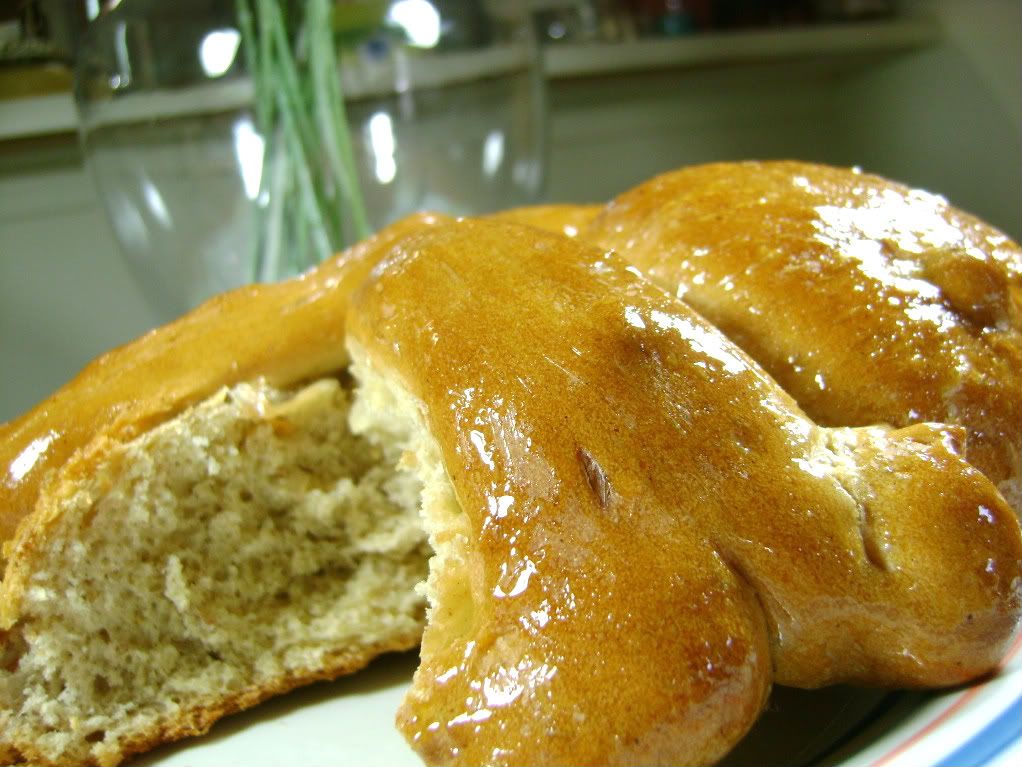
Its back to breaking some bread with all of you :) The second bread in the book is the Greek Celebration Bread. You can find it here.This bread, as many of our fellow bread bakers declared is the best so far!! It is beautiful to look at, very easy to make and more importantly, is a lesson in making poolish.

Photobucket


We tried the Christopsomos bread in the Greek Celebration bread list. And we weren't disappointed. The spices added a new dimension to this bread. Did I mention that this is a perfect bread for breakfast? Just a warm slice with some butter or with a chocolate dipping sauce, or with a fruity preserve or even as French Toast. This bread works beautifully without being overtly sweet. While, personally, I like my sweet bread sweet, the glaze did the job for me. There were a lot of discussions on the online forum about the use of glaze. A lot of people didn't try it, while a couple of others swore by it.

Photobucket


Our thumb rule for this challenge is to learn and do the best we can and go the whole hog with the ingredients. We used poolish instead of barm, skipped the cloves and used lemon extract instead of almond extract. We also decided to give the sesame seeds a miss and we certainly didn't miss it! :D

Photobucket


Do try this bread for a weekend brunch and you will be delighted at the results!

Photobucket

Tuesday, May 12, 2009

The Bread Baker's Apprentice Challenge - Anadama Bread

2 weeks ago, two people huddled and whispered sweet nothings in each other's ears. They argued, they cajoled each other and finally were convinced by the other to do it. They did something they've been wanting to do for a long time, but worried about whether the deed will be done in vain. The deed we are referring to is the buying of our first bread book The two people were A and I, who huddled at Borders Book Store at the Culinary section. He argued that we were novice bakers and that bread was still going to be challenging, I cajoled saying that nothing could teach us how to bake bread if not constant trial with the help of a celebrated book. The book was 'The Bread Baker's Apprentice' by Peter Reinhart.

2 days later, they excitedly click on Pinch My Salt, a popular blog and a huge favourite of N's repertoire of blogs only to find that Nicole had very benevolently thought of people like us and invited her readers/fellow bloggers/bakers for a challenge like never before. Bake every single bread in the book. Yes, the same book that we'd argued over. N said a million times 'I told you so,' while A went on to fill up the form, join the Google Group and read up the book like it was the Bible. Well, it is indeed a novice baker's Bible!

Yes, we are among the 200 mad people who've signed up for this challenge and exchange eager tweets/about a 100 emails a day :D and tons of inquisitive questions with amazingly researched, knowledgeable answers given in minutes. People like us have been inactive in the group in terms of any knowledge shared (coz we have none with regards to bread baking) but have gone through each and every email with wonder. Thanks to each and every one of you for making this bread baking process such a fun activity and its unbelievable how much we've learned in these last few weeks!

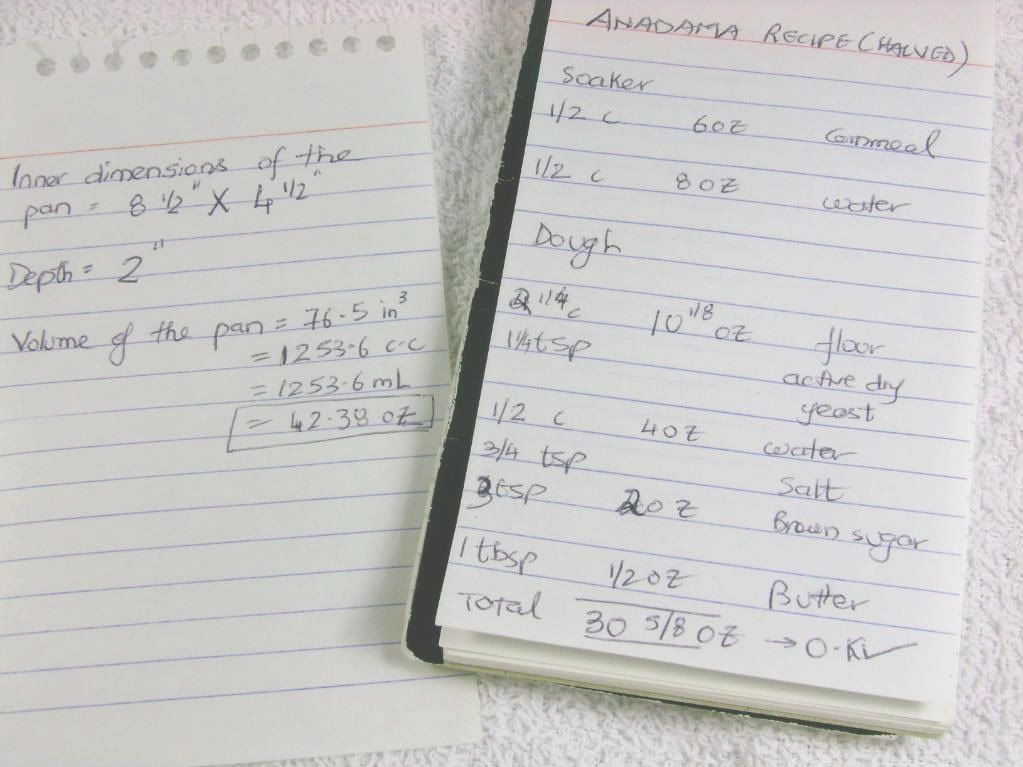
This is the original recipe by Peter Reinhart. We halved the recipe to make just one loaf since we are going to try baking a bread every week from this book. That makes it 4 loaves for a month, and we certainly didn't want to bake too much of the same thing!

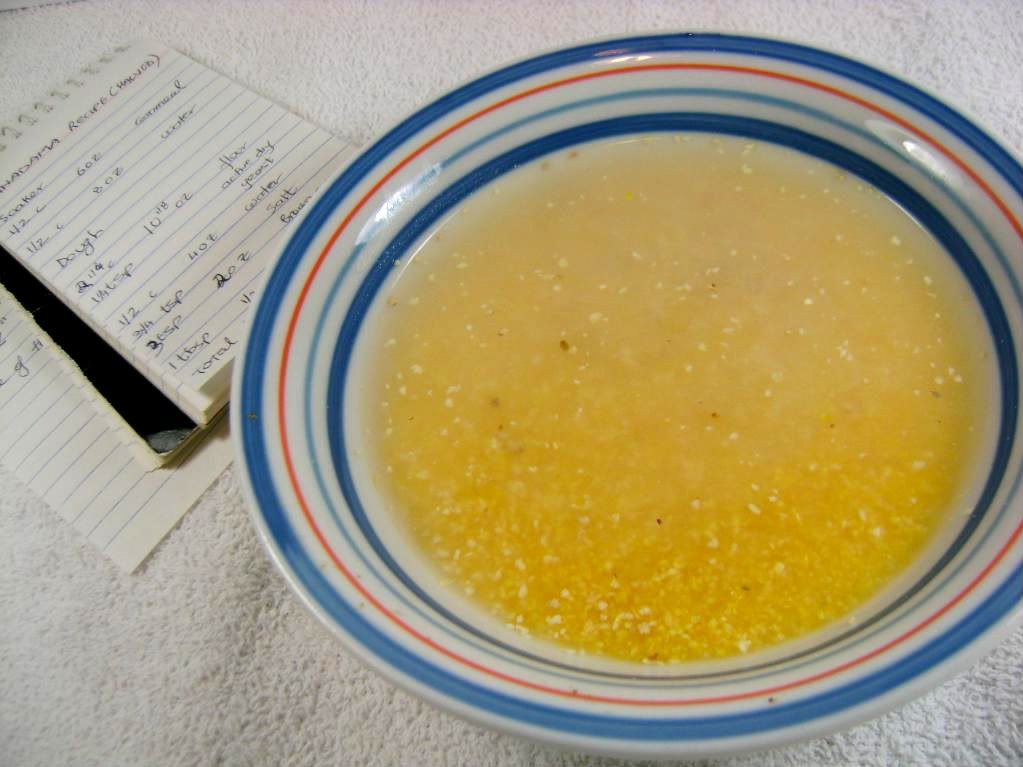
In A's handwriting:

Photobucket


We also made some changes with the ingredients and were quite happy with what the results! We cannot post the full recipe here thanks to copyright issues, however, the link given above is from Google Books and does have the recipe. We've given the list of ingredients (with our measurements for one loaf) here with the changes we made given in italics.

Ingredients

Soaker:

1/2 cup cornmeal, preferably coarse grind (called polenta, sometimes or corn grits) -
1/2 cup water at room temperature

The soaker has to be prepared the previous day. The day before you want to bake the bread, prepare the soaker by mixing the cornmeal with the water and cover with a plastic wrap. This needs to sit overnight.

Photobucket

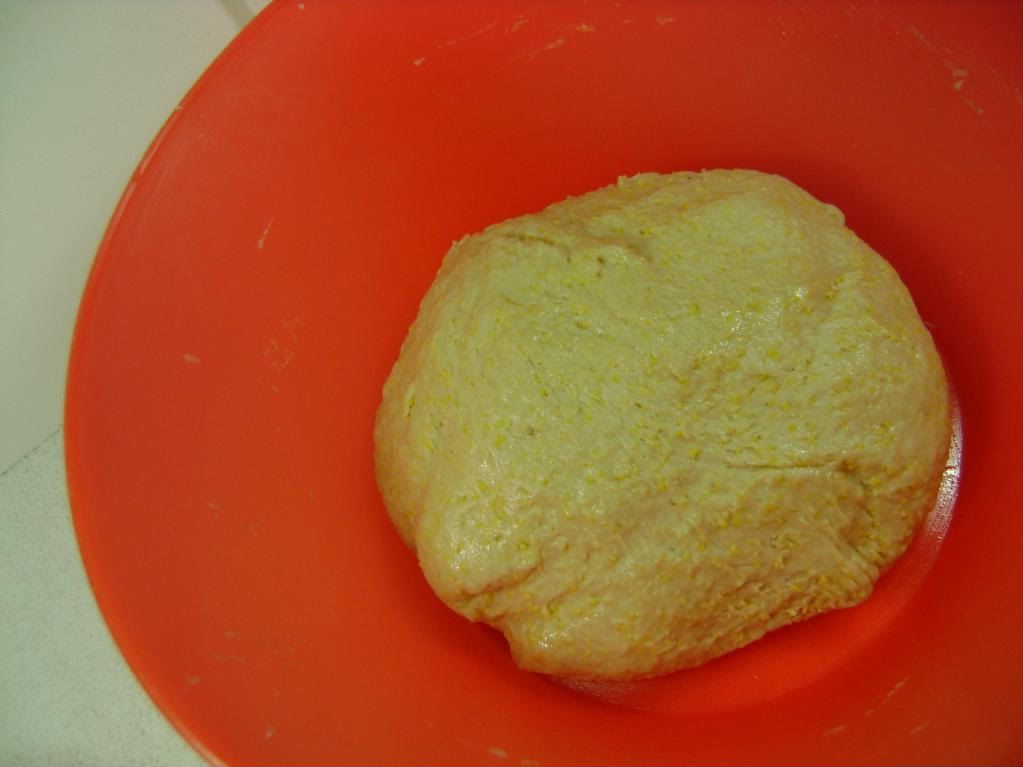
The bread dough:

2.25 cups Unbleached Bread flour -

We used bleached AP flour thanks to a stupid mistake we made by picking up the wrong bag at Costco! However, we also had to add a 1/4 cup of flour more than this because the dough was still sticky at the end of kneading.

1 1/4 tsp Instant yeast

We used Active Dry Yeast instead of Instant yeast because that is what we had. Reinhart mentions in his book that when one uses Active Dry Yeast instead of Instant yeast, we may need to use 25% more than the prescribed amount of instant yeast. We did just that and it worked out great.

1/2 cup Water, lukewarm (around 90-100F)
3/4 tsp salt
3 tbsp molasses

We didn't have any molasses and our one month shopping rule doesn't let us go grocery shopping for anything else apart from milk, eggs and fruits through the month. So, we added brown sugar instead of molasses, and yes, molasses is on the next month's list :D just in case!

1 tbsp shortening or unsalted butter at room temperature

We used butter and not shortening.

Cornmeal for dusting

Optional, according to Peter Reinhart, a MUST according to us!

Photobucket Photobucket

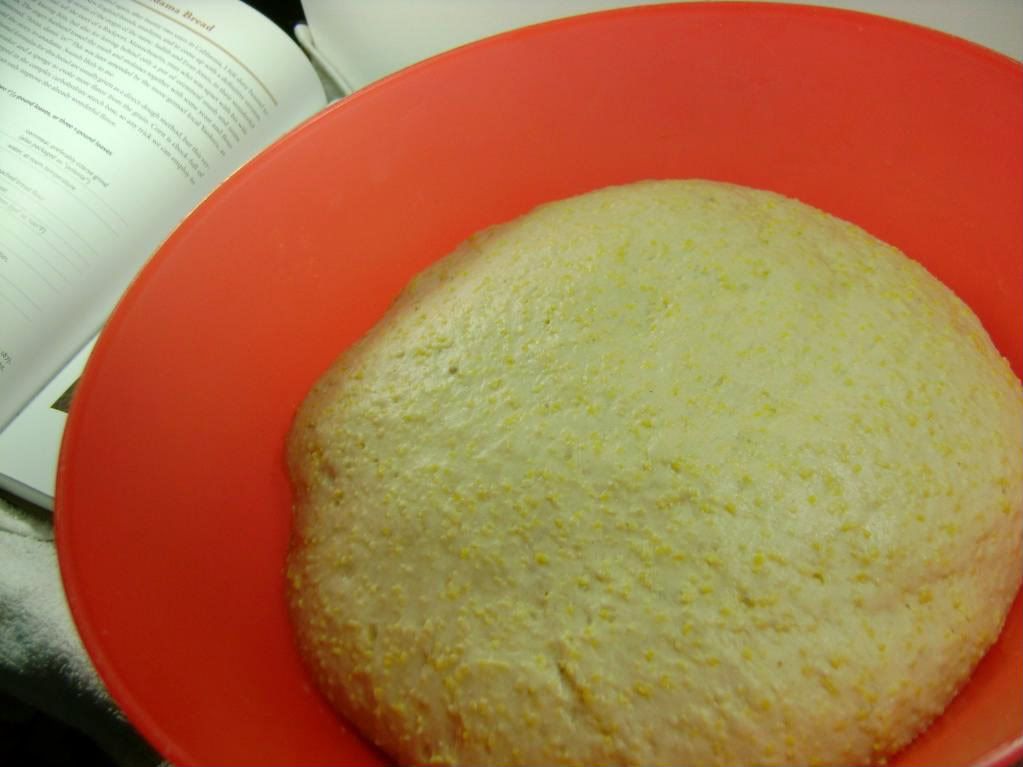
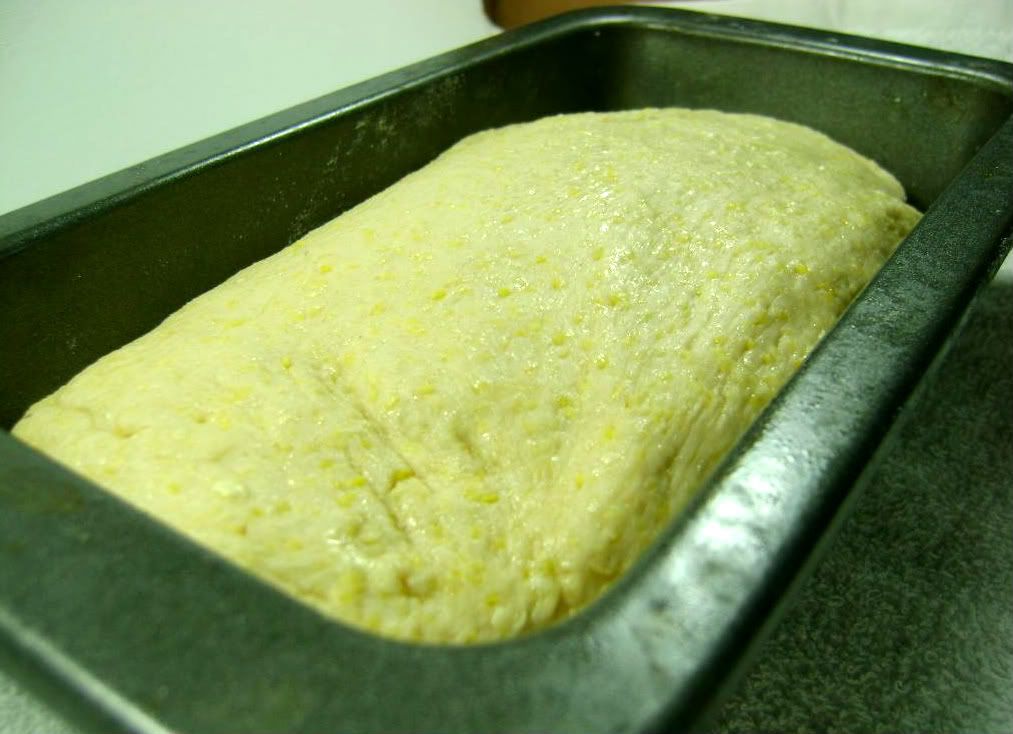
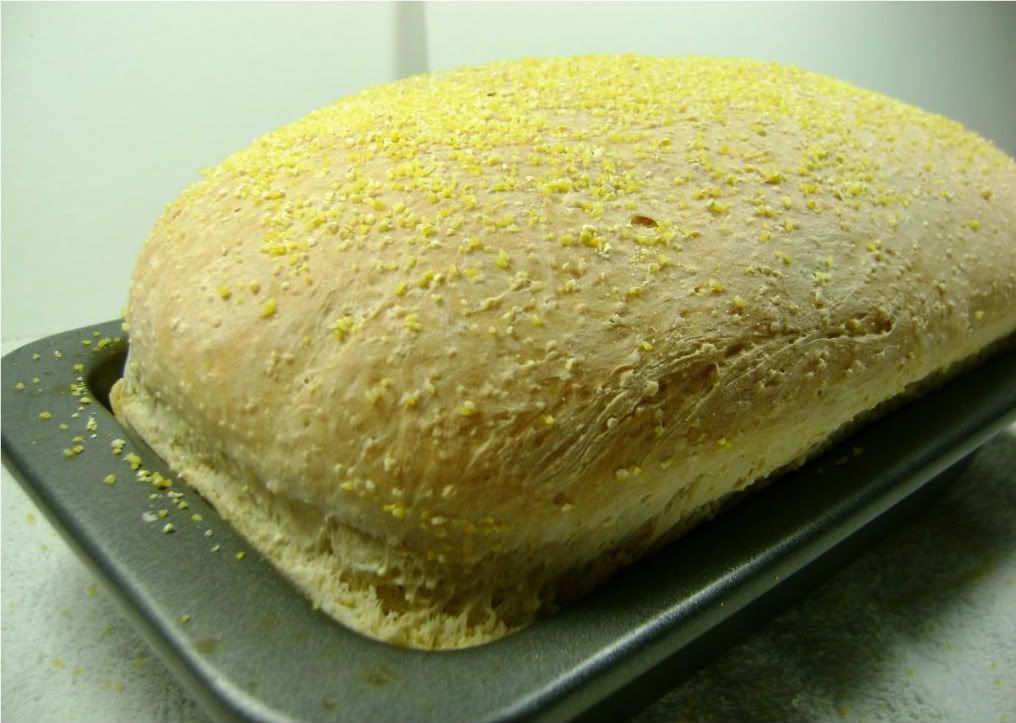
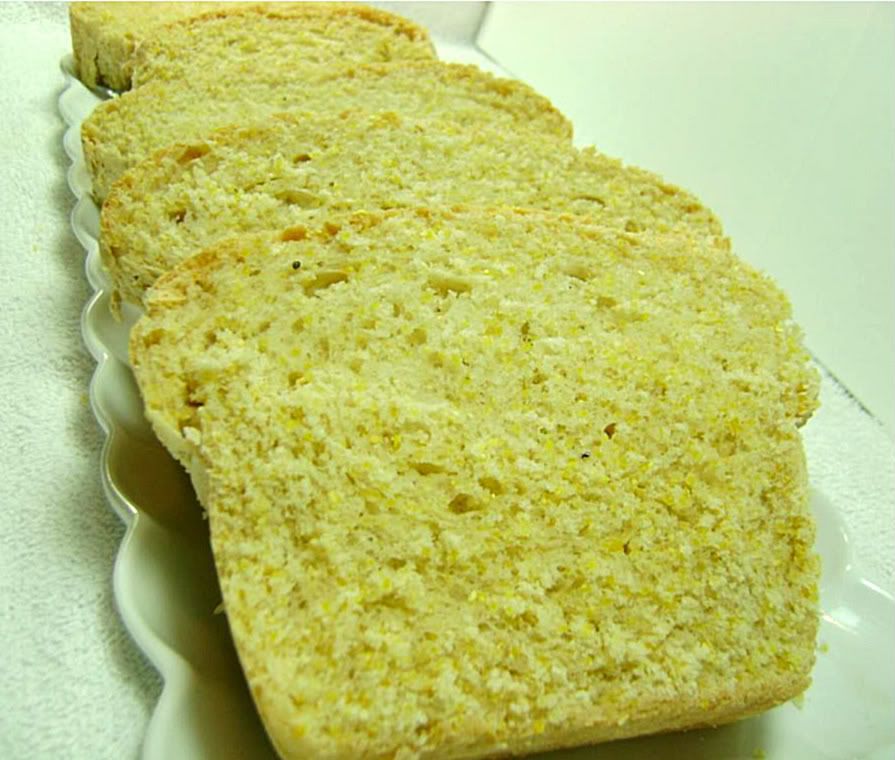
We made a mistake by taking out the bread a little early and not letting it cool thanks to uber excitement! Also, the dough seemed to be slightly too much for a loaf. We still stuffed it though :P However, we loved what we had! The bread had a sweet tinge to it, and was crunchy thanks to the cornmeal and absolutely lovely even on the next day. We made French Toast with the bread the next day and the texture was the same. This sure is a keeper of a recipe.

Photobucket

On the flip side, like I mentioned earlier, we had to use bleached AP flour thanks to our stupidity at Costco. We picked the wrong bag of flour :| This was the first time we were picking up flour from Costco and didn't notice that it was bleached! Anyway, it didn't seem to affect the bread baking process as much. We'd love to try this again with whole grains and make this a regular at home.

Photobucket

This experience has been more than a learning experience. Some emails have left us rolling on the floor with laughter. Some avid bakers have named their Starters and its hilarious to listen to them talk about their 'babies' or the starter's kids :)

And check our fellow mad bread bakers at Nicole's blog here! Do visit this page also to see the bread bakers' map on Google Maps. People from all over the world, passionate about bread baking are doing this and its a marvelous effort! Go ahead and leave Nicole a comment about how much you'd have loved to be a part of this ;) It will make her day for sure!

P.S. - Peter Reinhart himself responded to Nicole's challenge and has promised to keep an eye out for us, mad bakers! Yay!

Sunday, May 10, 2009

Sour Cherry Cake

Spring is in the air, so says Meeta and so, we listened. A is ever-ready to bake. Always. Every night. And when I mentioned that Meeta had an event and we had to bake a cake. A sprang (no pun intended :D) upon the idea and raided the Farmer's Market for berries. While we went looking for berries, we came back with some cherries. We initially thought of baking Mahanandi's Chocolate Cherry cake- a winner of a recipe which has been tried and eaten umpteen number of times by me. A, very obviously, wanted to try out something else and also use our hardly used bundt/tube cake pan (I'm not even sure if that is what it is!)

Photobucket

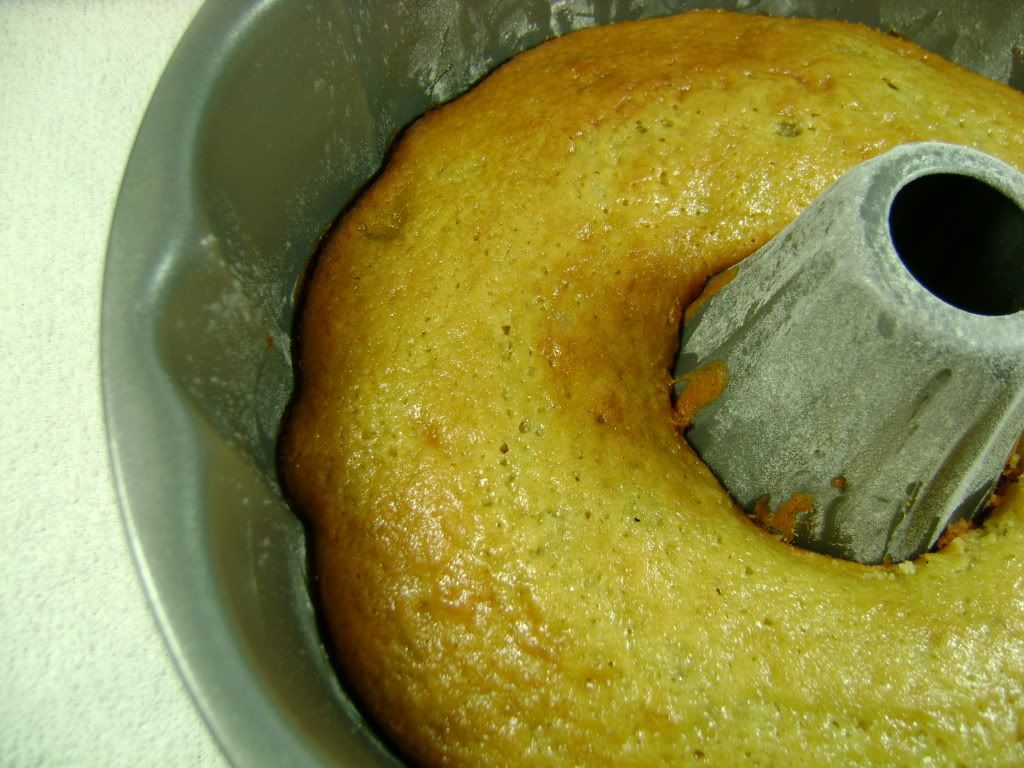
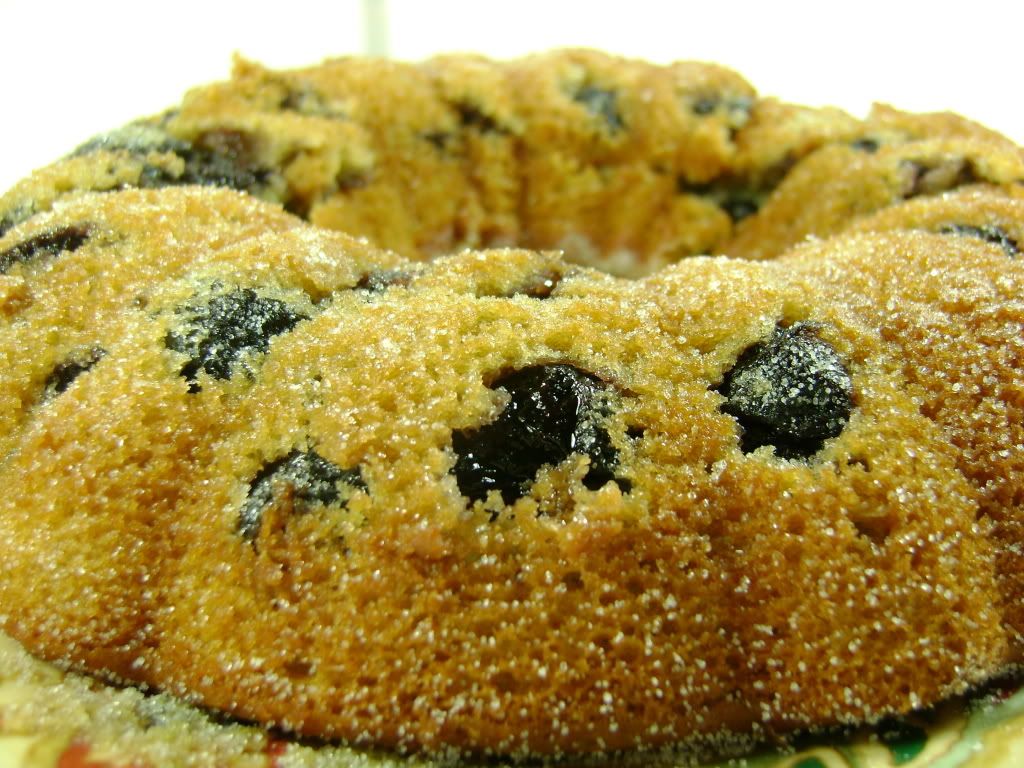
The cake was moist, speckled with cherries, made for a great dessert after an Enchilada meal :D Here is the recipe. Its as easy as a cake can be!

Ingredients

1 c AP flour (set aside 2 tbsp separately to coat the cherries)
1/2 c chopped cherries
1/2 c + 2 tbsp sugar
2 eggs
1/4 c sour cream
1/4 c milk
5 tbsp butter
1/4 tsp b.soda
1/2 tsp b.powder

Photobucket

1. Preheat oven to 350 F

2. Melt the butter and allow it to cool. In a separate bowl, toss the cherries with 2 tbsp of flour.

3. In the meantime, beat the eggs, one at a time with an electric beater. After adding the third egg, add the sugar gradually and beat well at medium speed until creamy.

4. Add the melted butter slowly. Beat for another two minutes.

5. Whisk the sour cream and milk in a bowl. Sift the leavening agents and the flour alternately with sour cream/milk. If you still see lumps, take a whisk and beat the batter until they disappear.

6. Fold in the cherries gently. Do not beat.

7. Pour the batter into the fluted pan and bake for about 25 mins. or until a skewer comes out clean. Take it out of the oven immediately. Invert it on to a flat plate and let it cool completely.

8. Run a knife along the edges and try to pry it if it doesn't want to come out. This is exactly what happened with ours as the cherries sank to the bottom. But well, it still tasted good ;)

Photobucket

However, we had a couple of problems. One, the cake was REALLY soft and was tough to take out without breaking it! And two, though we dusted the cherries with flour per popular baking advice, they still sank to the bottom. There were a few in the middle of the cake too, but nothing on the top! We do realize that the more liquidy the batter is, the more the cherries sink. And thicker the batter, lesser they sink. But, still, we'd like to know if we should know something else about sinking berries or cherries!

Oh, like we mentioned, this goes to Meeta of What's for Lunch, Honey? for Monthly Mingle # 32. This month, we are celebrating the season's offerings! And this cake is a great cake for any and all sorts of berries. Do let us know if you try it! And hey, try it!

Monday, April 27, 2009

Pesto Margherita!

N sulks. "why can't we be cool like the Daring Bakers?"

A: Oh we are, we just don't want to show off. N (stares unbelievingly- then decides to believe) : *hmph* I need to do something to show I'm as brilliant as any of them.

A: Let's bake a pizza?


N: Everyone does that. *wail*


A: Hey, how about a pesto pizza?


N (perks up at anything pestoey): Come! We will post it on the 27th. Just when the DB post theirs. Everyone will get tired of the sweet concoctions and come for salvation to our blog no?


A (looking away): Sure thing. Isn't there something else on the 27th?


N: Hmm... oh its Nags' first anniversary! And they love pizza! We are more thoughtful than the Daring Bakers no? I mean, we are making this for a friend, right?

A: Of course, of course. You are the nicest of 'em all. Now pizza or no pizza?


This conversation was held a couple of weeks ago after we debated whether we should join Daring Bakers or not. Quite frankly, if we joined DB, we'd spend more time cleaning the sugar syrup off the kitchen floor than really making the dessert. So, in a very forgiving spirit, we decided to let the Daring Bakers do their thing. We shall do ours. Pesto is my thing, and pizza is his thing, and together, we are the
'leering at pizza' bakers which is a far fun name than Daring Bakers, don't ya think? Also, to cover up for our selfishness, we are posting this in honour of a very dear friend of mine who has forcefully made friends with A too (she wouldn't be my friend if she didn't use force, duh!) who is celebrating her first year of her married life today on the 27th. Nags and her DH, this pizza goes out to you. Really. I mean we made it for you only. Even though our common friends decided NOT to come to my wedding in order to save their vacation leaves at work to come to yours. And all because it was held in a very hot (literally!) Kerala. Anyway, since I'm nice and all, I've forgotten all that and so, here's wishing you a happy, happy Anniversary :) Hope you have as much fun as we are having (not!) :P


We cook 'really' elaborately during the weekends. Okay, we cook elaborately everyday. But during the weekends, it is either high-risk experiments, haphazard timings for meals, some sitting in front of the oven watching the stuff inside. Some fights, some make-up time while the slow cooking dish takes its time ;)


This is one such recipe. I watched somewhere a pesto pizza being made. We'd never eaten a pesto pizza. That aside, I adore pesto. I can live on pesto if my waist wasn't giving me hints. I eat pesto with all types of bread. I decided it was time for a pesto pizza. I also love Margherita. Now, why compromise? Its not like A has a say anyway. So, that is exactly what we made! And it was so beautiful. I'm telling you ti was a beautiful dish to look at (now, this is not a sweet thing made by DB ok? So, we are different. So we are beautiful in our own way ok?). I loved that we baked it in a cookie tray and not our usual pizza stone. Take a look?


Don't you want the recipe? I can almost see you scrolling down to skip my drivel and going to the recipe. (Ah! What confidence!) :D

Ingredients

For the dough:

2 1/4 All purpose flour or Maida
1/3 cup semolina flour or Rava
3/4 cup milk
1 tbsp Olive Oil
2 tsp Active Dry yeast
2 tsp Sugar
2tsp Salt

1. Warm milk, olive oil and sugar (either in the microwave or gas). Make sure the sugar is dissolved. Add yeast and let it sit for 10 mins until it is nice and frothy.

2. In the meantime, in a large bowl, add the flours and salt. Make a well in the center.

3. Add the frothy yeast in the well and incorporate the flour slowly. Work on it until all of is incorporated. Knead well for 5- 10 mins (Think Michelle Obama arms here :P). If the dough is too sticky, go ahead and add some more flour. Coat dough with olive oil and cover the dough with moist cloth and let it rest and rise until nearly double the volume.

4. Once risen, push dough back to release air and then let it rest for 20 more mins.
Once the dough is ready, stretch it across the cookie tray which is lined with aluminium foil. Ours was - 15"/7" and 3/4" deep. You could of course use a circular pizza stone for this. Before stretching it out on the cookie tray, you can roll it into a rough rectangular shape using a rolling pin.


Once the dough is all stretched out on the tray, poke with a fork to create air gaps.


For the Pesto:


2.5 cups spinach
1/2 cup Parmesan cheese, grated
1/4 cup Olive oil
1/3 cup roasted peanuts
1/4 cup milk
2-3 green chillies, chopped
1/2 tsp salt
1 tsp tarragon

This is simple! Just blend all of this to form a thick paste/pesto. You could saute the spinach before putting it in too. We used baby spinach and didn't think we needed it. We used peanuts instead of the traditional pine nuts or any other nuts. No, we were not being inventive. Strangely, we didn't have any other nuts in the house. Apart from A, who I'd loved to throw into the blender, but well, I needed to check on the insurance thing. So, I desisted this time around.


Assembling the pizza

1/3 cup mozzarella
1/2 cup bell peppers - we used the green ones
1/3 cup onion - thinly sliced
Tomato slices - depends on how long/big your tray is and how many you want.
2 tsp oregano

On the cookie tray holding the stretched out dough, spread the pesto and sprinkle some half the mozzarella cheese and then throw in the veggies except for tomatoes. Arrange the tomatoes in rows and and throw the rest of the cheese and the oregano. Drizzle some Olive Oil on top of your creation and bake it for 25-30 mins. The cheese should be all melted and gooey and the sides of the crust should be brown. We also broiled it for a few seconds, but highly inadvisable if you are going to be jumping up and down in anticipation of the pizza, and not really looking at how much broiling is happening!


And, and, we are sending to Neha for FIC: Red and Green, an event conceptualized by the colourful Sunshinemom!

Okay, back to pesto! May I say myself, at the risk of sounding immodest that this was my idea and I'm extremely, extremely proud of this? Can you tell we didn't eat dinner that night? And that we walked for 3 miles and came back and couldn't even drink milk? Can you tell that we still slept with a smile and gooey dreams.

No? Yes? NO? Then, try this pizza and analyze your dreams. Make it with your partner and its more fun ;)

A (eating his nth slice of pizza): BTW, weren't you on a 'lower carbs' thing?

N (licking the cup that had the pesto): I can't hear when I eat. We'll talk later.

Wednesday, April 22, 2009

Vegan Chocolate Mousse in Cashew 'Cups'

It is no secret that I LOVE to bake. Typically, what I bake is determined by what we have in the pantry or what we're in the mood for. This is one of those instances where it was completely determined by the events we wanted to participate in...I'm not going to lie about it! If you are a food blogger who has never ever cooked/baked/photographed something that was not at all dictated by event(s), then seriously...hats off to you! But seriously...be honest...have you NEVER done it? Come on :P

This endeavor goes to two events:


Ingredients

For the cashew 'cups'

1/3 cup all-purpose flour
1/4 cup sugar
2 tbsp cold butter, cut into tiny pieces
1/4 cup roasted cashews
1-2 tbsp chilled milk*
* add just enough to form a dough


For the mousse

3/8 cup silken tofu
1/4 cup sugar
1/3 cup bittersweet chocolate
1. Preheat oven to 375F

2. Pulse the cashews, sugar and the flour a few times in a blender or a food processor until everything is combined into a fine powder. Make sure that the blender doesn't heat because this might cause the flour to stick to the walls.

3. Transfer this into a plate and incorporate the butter until a crumbly dough starts to form. Add enough milk to form a dough. It should be barely kneadable.

4. Divide this into 3 equal spheres. Roll each into 5-6 inch circles with a rolling pin. Place these into greased muffin pans to line the entire 'cup' and press the excess dough against the outer surface of the pan.

5. Fill these 'cups' with a 'filler' like rice or lentils because even before you press the second 'cup', you'll realize the first one has already started to come off! If you're a pro, then you could use something called pastry weights ;)

6. Bake for 15 mins. or until golden. Remove the muffin tray and let it cool until warm. At this stage, remove as much 'filler' as you can and then remove the cups from the muffin tray. Let them cool down to room temperature. Remove any filler which might be stuck to the inner walls in the meantime without breaking the cups.

7. While the cups are baking, melt the chocolate chips in a double boiler.

8. Drain the silken tofu to remove excess moisture. I used a couple of paper towels and pressed as gently as possible to remove some moisture.

9. Put this in a blender and add sugar to it. Blend until a uniform, creamy mixture is obtained.

10. Once the chocolate has melted, add it to the tofu 'cream' and pulse it a few more times. Taste it and adjust the amount of sugar as needed. You could also throw in a dash of vanilla extract. Once a nice uniform mixture is obtained, put this in a piping device or a ziploc bag and refrigerate for an hour or until nice and thick. Don't attach the plunger if you're refrigerating the piping device.

11. Pipe the mousse into the cups and refrigerate it until ready to serve.

The mousse came out quite rich and creamy. The cups weren't as crisp and crunchy as I wanted them to be. This recipe serves three 'cups'. I'd say that overall, this is very easy to make and is a nice idea for individual desserts and can be prepared ahead. And even weight watchers could afford to indulge in this because it is not as calorific as some other desserts out there. For every 'cup', you're probably consuming 1/9 cup flour, 1/6 cup sugar, 1/8 cup silken tofu, 1/9 cup chocolate and 2/3 tbsp butter. I don't think that should be more than 200 calories.

This dessert can be easily made vegan by substituting the milk with water and butter with oil or nut-butter for making the cups. The mousse, on the other hand, is certainly vegetarian...in fact vegan!


So here is another (relatively) guilt-free dessert from us ;) Please binge responsibly :D

UPDATES:

1) The indentations seen in the cups are from the moong daal (lentils) that I used as pastry weights.

2) I have a cup that can measure 1/8th of a cup. Do it three times and you got yourselves 3/8th of a cup ;)

Friday, April 3, 2009

Project Ramekin - Lemon Cheesecake.

Like before, this is yet another experiment. We wanted to try a cheesecake in a regular baking dish, a ramekin, a cake pan etc. Our springform pan leaks and is flawed. So, A, one night, in one of his usual baking endeavors decided to bake a lemon cheesecake. The next night, I broke my diet regimen of 2 weeks and ate the cheesecake. It was THAT good. I'm not going to talk much now, but will just let the man give you the recipe!

Ingredients:

4 ounces of Neufachtel cheese, at room temperature

4 ounces of Mascarpone cheese, at room temperature

1.5 tbsp butter (room temperature)

1/3 cup sugar cookies, broken into small pieces

1 tsp cocoa powder

1 large egg
1/4 cup sugar
1 tsp lemon zest

1 tsp lemon juice


1. Preheat oven to 375 F.

2. In a food process
or, pulse the cookies, cocoa powder and butter to form a coarse powder (like grated Parmesan Cheese).

3. In a 4"X1 2/3 " deep circular ramekin, apply cooking spray generously. Don't worry, none of this will go inside you ;) This is to line the ramekin with a piece of parchment paper, cut j
ust enough to cover the bottom and rise a little above all around to form a little 'cup'.

4. Press the coarse powder to cover the parc
hment paper. Pack thoroughly to form a nice, thick crust.

5. Bake for 12-15 mins. until nice and brown. Remove and let the crust cool to room temperature.

6. Reduce the oven temperature to 350F. Get an oven safe saucepan slightly larger than the ramekin and fill it 1/2 way with water. Place it in the oven 5 mins prior to placing the batter filled ramekin.

7. In a medium bowl, beat the cream cheese, lemon juice, lemon zest and the sugar at medium speed, for about 2 minutes.

8. Add the egg and beat at high speed for a minute.

9. Pour this on top of the cooled crust.


10. Place the ramekin inside the saucepan in the oven. The water should rise to cover about 1/3-1/2 the level of the ramekin. If not, adjust the amount of water accordingly.

11. Bake until the center is slightly jiggly, about 1 hour. Make sure that the top doesnt have cracks. If so, that means the cheesecake has overcooked. Use a thin knife and run around the edges, taking care not to break the cheesecake.

12. Take it out of the oven and let it cool down to room temperature, about 1 hour. Then refrigerate it overnight or 4-5 hours. Use the same knife to pry the cheesecake apart at several places. Then gently invert it on a plate and invert again to get the sunny side up :)


Trust me, its worth the wait and the effort :) The lemony flavor went very well with the chocolatey crust. The consistency was perfect and as usual, it was gobbled up in no time ;) As evident from the pics, we had ours with some blackberry Coulis(a fancy word for blackberry preserve thinned out with water and warmed a little bit ;) ).

Saturday, March 21, 2009

Project Ramekin.

This is an idea we came up with recently. And no it doesn't need any participation from anyone. We happen to be the only participants in this project ;) We're just two people and we are suckers for desserts. When we come across recipes on various sources, they invariably ask for cups of flour, lot of eggs, cream, sugar, so on and so forth. Initially, in order to learn baking and to feel more confident about ourselves, we followed the recipes to the T. Sometimes we ended up with some great stuff, but in huge amounts for just two people! And I personally think that desserts are at their best when consumed fresh. The longer they stay in the refrigerator, the less delectable they become. For instance, the hazelnut flour cake we tried came out great, but it was a LOT for just the two of us. And we're not Ina Garten to host parties almost every single day ;) So we end up consuming most, if not all of the goodies! So we decided to start scaling down recipes. This serves several purposes.

1) Less stuff to eat (or discard, if it doesn't succeed ;))
2) Is it really possible to scale down certain recipes? (Consider meringues and so on)
3) While scaling down, can we add or subtract some of the 'rich' ingredients and still retain the flavor of the dish? If the answer is yes, then it rocks! If not, then we're eating less of it anyway. So its a win-win situation ;)
3) Portion control. This is a key if you're on a diet and still want to indulge in small amounts. Also, sometimes its really cool to serve individualized desserts when you're hosting a few people.


With this in mind, the geek in me came up with Project Ramekin. That is to scale down and experiment with all the good desserts until I can get them into a ramekin...or 2 at the most ;)

The first successful recipe that we're posting is that of a chocolate hazelnut torte. Its different from a muffin as it doesn't necessarily require flour so you get a nice, dense chocolate flavor. Or as I like to say: "more bang for your buck' ;)

Here's the original recipe I followed. As you can see, it needs a ton of stuff. 1 cup (equals 2 sticks!) of butter, so on and so forth. Lot of fats, to be honest ;) And note that it prepares four servings according to them.

I scaled down the recipe to use just one egg. So here's mine:

1 large egg
2tbsp butter
1/8 cup semi sweet chocolate chips
1/5 cup toasted, de-skinned hazelnuts (I used about 6 individual nuts)
1/4 cup brown sugar, packed (this is less than their prescribed amount)
1/2 tsp cocoa powder
1/2 tbsp unbleached all-purpose flour


When you're baking at 10 PM in the night, you really don't have patience to take out that hand beater and use it and clean it. So, in a small blender (called mixi in India :D), pulse the butter and sugar. Scrape the sides and add the nuts. Pulse a few times. Add the chocolate chips and pulse a few more times. Finally, add the egg, cocoa powder and the flour and pulse it a couple of times. The idea is not to overbeat the eggs.


Pour it in the ramekin and bake it at 350 F until a skewer comes clean, about 23 mins. in my case.

The amount of batter was actually less than 1 ramekin but I didn't fill up to the brim, the whole ramekin because I feared that the rising will cause things to overflow. So I filled about 2/3rd of the ramekin and was left with a tbsp or two of batter which I ended up discarding. So their 4 servings would actually amount to five of our servings...something that worked to our advantage ;)

I've never baked a torte before so I chose to add a little bit of flour to be on the safer side. I guess I might try to make a flourless one in future :) But this came out really well! At first, it looked a touch crusty on the outside. But when we dug into it, we could clearly see (and taste) the dense, rich chocolatey goodness inside :D We devoured this in a couple of minutes :)


What do you think of this project? We plan to post frequently on experiments in our kitchen. These are not dishes no one's tried before, or very unique or tough dishes. They are 'our' experiments in 'our' kitchen. So, it could be a success or like a lot of times, failure! Let us know!

Sunday, March 15, 2009

Vegan Mexican 'Stuffed' Bread.

First of all, we'd like to acknowledge Jaishree of Ruchi and Trupti of Recipe Center for passing a galore of awards! These include One Lovely Blog, Triple Award, Uber Amazing Blog, Adorable Blog and a Friendship award. Thanks a lot :)

Coming back to the post, well, it was one of those days when N felt like eating some spicy Mexican food and I felt like baking. As N and I walked into the kitchen, our eyes caught a glimpse of a yeast packet staring right at us. So we thought of this really cool dish :) Its like a burrito but instead of a tortilla, the filling is inside a bread...a yeast bread ;) And we had ourselves (yet another!) feast :D


Ingredients

For the Bread

1 packet active dry yeast
2 1/4 cups all-purpose flour
1 cup warm water
1 tsp sugar
2 tsp salt
1 tbsp olive oil
1 tsp crushed oregano

For the filling

1 1/2 cups cooked red kidney beans
1 cup firm tofu (crumbled with hands)
1 medium onion coarsely chopped
1/2 cup tomatoes, finely chopped
1 tsp turmeric
salt to taste
2 tbsp vegetable oil
2 tsp chili powder (we used Ancho and Chipotle chillies)
2 Jalapenos, finely chopped and not deseeded ;)

1. Dissolve the sugar into the warm water. If it gets cold, warm it again. Add the yeast to the water and let it become frothy. This takes about 10 mins.

2. Mix all the dry ingredients for the bread in a large bowl and make a well in the center. Pour the proofed yeast into the well and slowly work the flour into a dough.

3. Add the olive oil and continue kneading till you get a nice non sticky but moist dough. Add more flour if the dough is sticky. Coat it with some olive oil and let it rise until doubled in volume.

4. While the dough is rising, prepare the filling. Heat the oil in a pan and saute the onions. When the onions start to become translucent, add the tomatoes. Add the turmeric, salt, chili powders and cook until tomatoes absorb some oil and start to disintegrate.

5. At this stage, add the remaining ingredients. Cook at medium heat until a nice thick consistency is obtained. The filling should not be runny. This should take about 10 minutes. Make sure that the filling has cooled down before you use it on the bread.

6. After the bread has doubled in volume, push it back and knead it a couple of times. On a floured work-surface, roll the dough into a 8" long X 5" wide rectangle. Apply the filling lengthwise next to one of the edges, leaving 1" margin on all sides. Wrap it like a burrito such that the filling stays in the middle of this 'roll'. Place this roll into a loaf pan and cover it. Let it rise for 20 mins.

7. Bake at 375 F until the bread is done. A skewer should come out without the bread dough. It might come out with a little filling though ;) We also applied some vegetable oil and broiled it for a few seconds to give it a nice golden crust.

Viva Mexico!!! This thing rocked :D I guess its harder to prepare this compared to a burrito, but I guess as far as I am concerned, very few things beat the smell of freshly baked bread :)

UPDATE: Sending this to Vaishali of Holy Cow for the Vegan- Mexican event, and to Susan of YeastSpotting fame. She is behind the immensely popular blog Wild Yeast.